
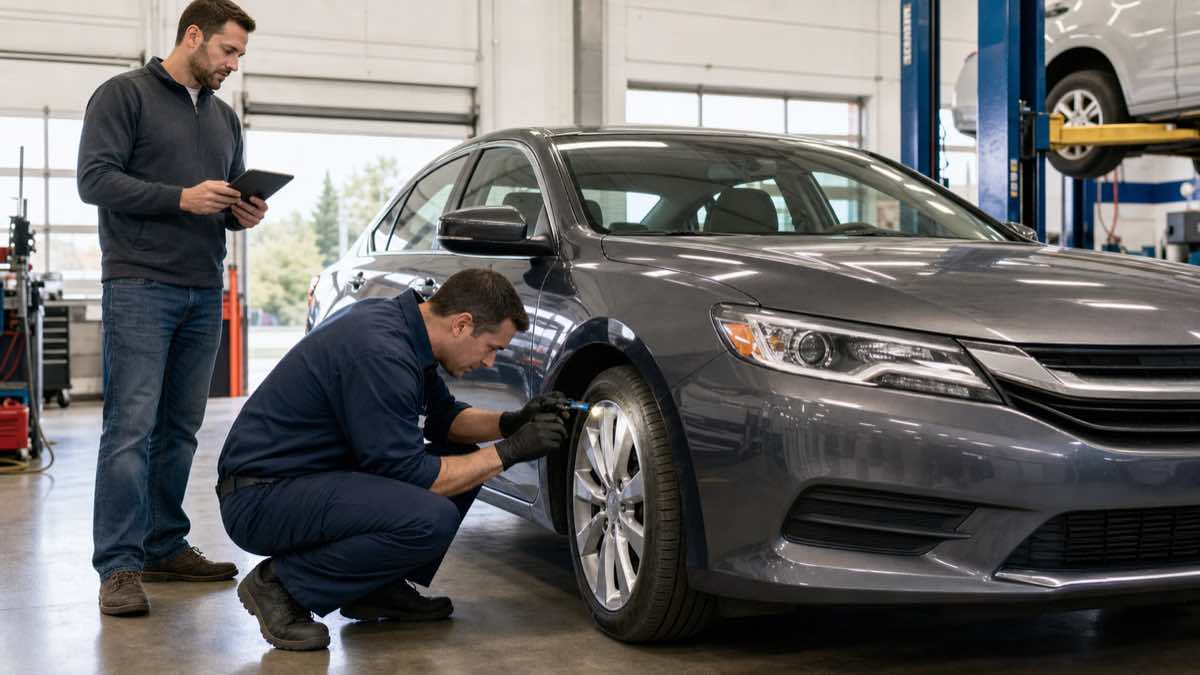
A shiny used car can still hide overdue maintenance, collision repairs, warning lights, flood damage, or a repair bill that changes the value of the deal. This used car inspection checklist helps you gather evidence before money changes hands. It is designed for US buyers shopping at a dealer or from a private seller.
Use the checklist in four stages: research the VIN before the visit, inspect the parked car in daylight, complete a cold start and test drive, then pay an independent technician for a pre-purchase inspection. Your own inspection helps you decide whether to keep investigating; it does not replace a lift inspection, full-system scan, or professional diagnosis.
Quick Used Car Inspection Checklist
- Match the VIN on the dashboard, door label, title, and vehicle-history report.
- Check title history, open recalls, service records, mileage progression, and seller identity.
- Inspect the car outside in daylight on dry, level ground.
- Look for mismatched paint, uneven panel gaps, corrosion, leaks, tire damage, and water intrusion.
- Confirm that dashboard warning lights illuminate during the self-test and then behave normally.
- Start the engine cold when possible; note noises, smoke, idle quality, and warning messages.
- Test steering, brakes, transmission, suspension, climate control, cameras, and driver-assistance features.
- Arrange an independent pre-purchase inspection before signing or paying.
- Get the out-the-door price, warranty terms, promised repairs, and return policy in writing.
- Add immediate repairs and near-term maintenance to the purchase price before comparing the deal.
A seller who will not allow a reasonable independent inspection is giving you useful information. The Federal Trade Commission advises buyers to consider another dealer when an independent inspection is refused.
Stage 1: Research the Car Before You Visit
Get the VIN and basic documents
Ask for the 17-character vehicle identification number, current mileage, title status, service records, number of keys, and a photo of the dealer’s Buyers Guide when applicable. Confirm the advertised year, trim, engine, drivetrain, and major options. A wrong trim or missing option changes both market value and future repair exposure.
Compare the VIN shown in the advertisement and records with the VIN plate visible through the windshield and the certification label in the driver’s door opening. During the final paperwork review, compare it with the title and sales documents. Stop if the identifiers do not match or appear altered.
Use history and recall tools for different jobs
A vehicle-history report can reveal title brands, odometer records, salvage or insurance events, and other reported data, but no database captures every repair or accident. The US Department of Justice’s NMVTIS consumer portal explains the federal title-information system and links to approved report providers.
Enter the VIN at the NHTSA recall lookup to check for unrepaired safety recalls in its system. NHTSA notes that the lookup does not show completed recalls and may not immediately show every newly announced recall. Ask an authorized dealer to verify campaign status for the exact VIN when the result is unclear.
History reports and recall searches are filters, not mechanical inspections. A clean-looking report does not prove that the vehicle has never been damaged, flooded, poorly maintained, or repaired outside a reporting network.
Ask questions before making the trip
- How long has the seller owned the car, and why is it being sold?
- Is the title in the seller’s name, and is there a lien?
- Has the car been in a collision, flood, fire, or insurance total-loss event?
- What repairs or maintenance are due now?
- Are any warning lights on, intermittent, or recently cleared?
- Can the car remain cold before your appointment?
- Will the seller allow an inspection at a shop you choose?
Save the advertisement and written answers. They help you compare what was represented with what you actually find. Do not send a nonrefundable deposit solely to secure an inspection unless you understand the written refund terms.
Stage 2: Inspect the Parked Car
Bring a flashlight, paper towels, a tire-pressure gauge, a tread-depth gauge, a phone charger, and this checklist. Inspect in daylight and dry weather when possible. Ask permission before touching panels, connecting a scan tool, or moving personal items. Never crawl under a vehicle supported only by a jack.
Body, paint, glass, and signs of prior repair
- Walk around the car from several angles. Look for color or texture differences, overspray on rubber, tape lines, ripples, and inconsistent panel gaps.
- Open and close every door, the hood, and the trunk or liftgate. They should latch without unusual force or contact.
- Inspect glass for cracks, chips in the driver’s view, mismatched date markings, and camera or sensor areas that may require calibration after replacement.
- Look beneath floor mats and in the spare-tire well for moisture, staining, silt, corrosion, or a strong masking fragrance.
- Check structural areas visible without disassembly for distorted seams, fresh undercoating over localized damage, or nonfactory-looking welds.
One repainted panel does not automatically make a car unsafe, and matching paint does not prove it is original. The key questions are what was damaged, whether structural or safety systems were involved, how the repair was performed, and whether the price reflects the history.
Tires, wheels, brakes, and suspension clues
- Read the tire size, brand, model, load rating, and date code. Tires on the same axle should be compatible, and all-wheel-drive vehicles may have stricter circumference requirements.
- Measure tread across the inner, center, and outer portions. Uneven wear can point to pressure, alignment, worn parts, or prior damage.
- Reject tires with exposed cords, bulges, deep cuts, or obvious sidewall damage. Use the tire maker’s age guidance rather than one universal replacement rule.
- Look through the wheels for rotor scoring, heavy rust, fluid contamination, and remaining pad material where visible. A visual glance cannot measure the complete brake system.
- Check wheels for bends, cracks, missing fasteners, and curb damage. Push down gently at each corner only if the seller permits; persistent bouncing can justify closer inspection.
Tire wear can be a symptom rather than the entire repair. Do not accept an alignment as the only answer until a technician checks for loose steering or suspension parts, wheel damage, and mismatched tires.
Under the hood and beneath the car
Inspect a cool engine before the test drive. Confirm that fluid levels are within the manufacturer’s marked ranges and look for wet areas, crusty residue, damaged wiring, loose battery terminals, swollen hoses, or obvious improvised repairs. Fluid color alone rarely proves condition; specifications, service history, testing, smell, contamination, and system behavior matter.
Look on the ground and along visible underbody areas for fresh drips. Our car fluid leak color guide can help narrow the source, but location and laboratory or system testing may still be needed. Never remove a hot cooling-system cap, touch moving components, or reach near a running belt or fan.
Interior, safety equipment, and electronics
- Check seatbelts for smooth extension, secure latching, fraying, and signs of deployed pretensioners.
- Turn the ignition on without starting when the vehicle allows it. Confirm that expected warning lamps illuminate for the self-test.
- Start the car and verify that warning lamps go out as described in the owner’s manual. A missing lamp can be as important as one that stays on.
- Test every window, lock, mirror, seat control, interior light, wiper, washer, horn, outlet, USB port, key, and remote.
- Run heating and air conditioning through temperature, mode, fan, and defrost settings.
- Test the backup camera, parking sensors, blind-spot alerts, adaptive cruise, and other driver-assistance features under safe conditions.
- Check for damp carpet, moldy odors, corrosion beneath seats, and electrical behavior that changes when accessories are switched on.
Photograph every warning message before restarting the vehicle. Use our dashboard warning lights guide to judge urgency, but diagnose the exact vehicle rather than buying a part based on an icon.
Stage 3: Cold Start and Test Drive Checklist
Cold-start checks
Place a hand near the hood before starting; unexpected warmth may mean the car was run shortly before you arrived. That is not proof of a hidden problem, but ask why. During a genuine cold start, watch for delayed cranking, repeated clicking, abnormal mechanical noise, rough idle, fuel odor, persistent smoke, and warning lights.
Brief water vapor from a cold exhaust can be normal, especially in cool weather. Blue, dense white, or black smoke that continues after warm-up deserves diagnosis, but color alone does not identify the failed component. Record a video rather than relying on memory.
Drive in more than one condition
Drive only with the seller’s permission, appropriate insurance, a legal plate, and safe road conditions. If you cannot legally drive, ask the seller to drive while you observe. Use a quiet route that includes low-speed turns, rough pavement, moderate acceleration, steady cruising, safe braking, and parking maneuvers.
| System | What to observe | Red flags that need diagnosis |
|---|---|---|
| Engine | Starting, idle, response, temperature, odors | Knocking, overheating, severe hesitation, persistent smoke |
| Transmission | Engagement, shift timing, smooth acceleration | Slipping, harsh engagement, delayed response, warning message |
| Steering | Centering, effort, straight tracking, full-lock behavior | Binding, excessive play, strong pull, clunks |
| Brakes | Pedal feel, straight stopping, noise, vibration | Soft pedal, reduced braking, fluid warning, severe pull |
| Suspension | Body control and noise over varied pavement | Repeated bouncing, grinding, loose or heavy impacts |
| Climate and electrical | Output at idle and while driving; accessory behavior | Intermittent shutdown, burning smell, repeated warnings |
After the drive, let the car idle, check the temperature display, and inspect again for smells or new leaks. Do not touch hot components. A check engine light may store useful diagnostic trouble codes, but a code names a monitored condition rather than the failed part. The check engine light guide explains the difference.
Scan data and recently cleared codes
With permission, a suitable scan tool can check diagnostic trouble codes and emissions-readiness monitors. Several monitors marked not ready can occur after battery disconnection, recent repairs, or code clearing; they do not by themselves prove fraud. Ask why the monitors are incomplete and have a technician inspect before purchase. A generic reader may miss transmission, airbag, ABS, body, hybrid, and manufacturer-specific modules.
EV and Hybrid Used Car Checks
Apply the same body, tire, brake, paperwork, and road-test checks to an electric or hybrid vehicle, then add powertrain-specific evidence. Ask for the traction-battery warranty terms, state-of-health report and test method, charging history when available, charging cable, charge-port condition, 12-volt battery test, software or campaign history, and thermal-management service records.
- Confirm AC and, where equipped, DC fast charging with compatible equipment.
- Compare displayed range only under similar charge, temperature, climate, route, and driving conditions; one range estimate is not a battery-capacity test.
- Check that regenerative and friction braking transition smoothly during the road test.
- Inspect the battery enclosure and underbody for impact, corrosion, missing fasteners, or fresh repairs during the professional lift inspection.
- Have a trained technician scan the high-voltage, charging, thermal, and battery-control systems.
Never touch orange cables or open a high-voltage enclosure. Flood or collision history deserves special scrutiny because damage can affect the battery pack and safety isolation even when the vehicle still drives.
Stage 4: Get an Independent Pre-Purchase Inspection
The FTC says a vehicle-history report is not a substitute for an independent mechanical inspection, even when a car is certified, dealer-inspected, warrantied, or covered by a service contract. Choose a technician who works for you, knows the vehicle type, and has appropriate scan equipment.
Ask for a written report that identifies the VIN and separates safety problems, immediate repairs, near-term maintenance, optional work, and normal wear. A useful pre-purchase inspection may include:
- Lift inspection of structure, corrosion, leaks, exhaust, steering, suspension, brakes, and collision repairs.
- Measurements for tires, brake pads, rotors, battery, fluids, and other serviceable items where applicable.
- A scan of all available modules, freeze-frame data, readiness status, and relevant live data.
- Verification of engine, transmission, cooling, charging, climate, and driver-assistance operation.
- Hybrid or EV battery and high-voltage checks performed with model-appropriate tools.
- A road test and written estimate for required work.
A state safety or emissions inspection is not the same service. It may answer a narrow legal question without estimating engine wear, future maintenance, collision quality, or the cost of making the car dependable.
Paperwork Checklist Before You Pay
At a dealer, read the FTC Buyers Guide information and make sure the Guide on the vehicle matches the negotiated deal. It identifies whether the car is sold as-is or with a warranty and what share of covered repair costs the dealer will pay. The FTC emphasizes getting all promises in writing because spoken promises are difficult to enforce.
- Confirm seller identity, title ownership, lien release, VIN, mileage disclosure, and state-required documents.
- Review the Buyers Guide, warranty, service contract, add-ons, fees, financing terms, and out-the-door price.
- Put promised repairs, missing parts, second keys, delivery dates, and conditions in writing.
- Ask for the return or cancellation policy in writing. Do not assume federal law gives every buyer three days to return a car; state rules and seller policies vary.
- Check insurance cost, registration, tax, inspection, and transportation before calculating your final budget.
Turn Findings Into a Buy, Negotiate, or Walk-Away Decision
Do not negotiate from a list of scary-sounding symptoms. Use the technician’s written findings and realistic estimates. Calculate the effective near-term cost:
| Advertised or negotiated vehicle price | $________ |
|---|---|
| Taxes, registration, dealer fees, and selected add-ons | $________ |
| Immediate safety and repair work | $________ |
| Maintenance due within the next 12 months | $________ |
| Tires, keys, charging equipment, or missing equipment | $________ |
| Effective near-term cost | $________ |
Then compare that total with similar vehicles of the same trim, mileage, condition, title history, and warranty. Walk away when ownership cannot be verified, the VIN or mileage story does not match, structural or flood damage is unresolved, required safety repairs exceed your budget, the seller pressures you to skip inspection, or important promises will not be written down.
Frequently Asked Questions
How long should a used car inspection take?
Your initial walk-around and test drive may take 45 to 90 minutes when done carefully. A professional pre-purchase inspection often requires additional shop time. Complexity, vehicle type, records, scan depth, and discovered problems matter more than a fixed clock.
Can I inspect a used car myself?
You can screen obvious condition, operation, document, and road-test issues yourself. You generally cannot replace a lift inspection, full-module scan, measurements, model-specific diagnosis, or high-voltage testing without the right training and equipment.
Is a vehicle-history report enough before buying?
No. Reports only contain information supplied to their data sources and may omit mechanical faults, unreported collisions, or repairs. Use title history, recall lookup, service records, your inspection, and an independent PPI together.
Should a dealer allow an independent inspection?
A reputable seller should provide a practical way to obtain one. If insurance rules prevent removing the car, the FTC suggests a mobile inspector or having the dealer take it to a facility you choose. Consider another vehicle if the seller refuses every reasonable option.
Does a certified pre-owned car still need inspection?
Yes. Certification and warranty coverage can add value, but they do not reveal every condition or future cost. Verify what the certification means, who backs it, what was inspected, which repairs were completed, and what the warranty excludes.
What is the biggest red flag when buying a used car?
No single symptom is always decisive, but mismatched ownership or VIN information, evidence of unsafe structural or flood damage, and refusal of an independent inspection deserve immediate caution. Pressure to pay before verification is another strong reason to stop.
Bottom Line
The best used car inspection checklist does more than find scratches. It verifies identity and history, tests the vehicle cold and warm, protects you from unsafe DIY inspection, requires an independent professional opinion, and converts every finding into a realistic ownership cost. Be willing to leave the deal. Another used car is cheaper than inheriting a problem you were pressured not to inspect.