
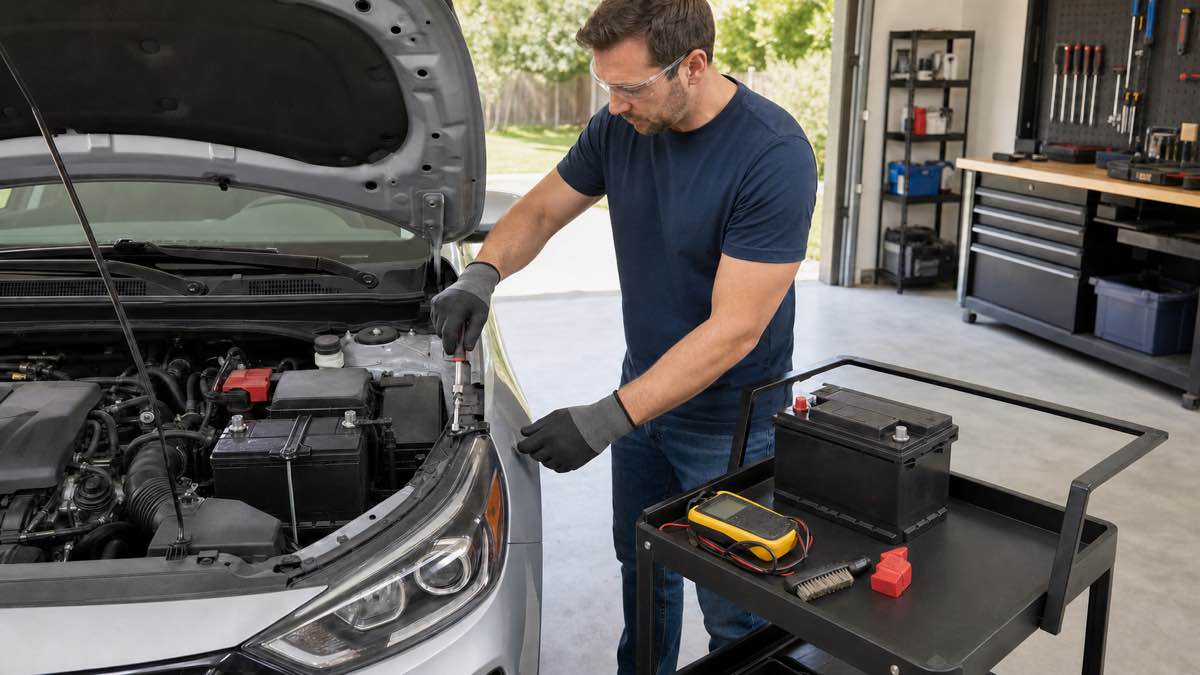
Can you replace a car battery yourself? Often yes—if you are replacing a conventional low-voltage 12-volt battery, can confirm the battery is actually bad, have the exact vehicle procedure, and can safely lift and secure a heavy battery without shorting the electrical system. Newer vehicles may add vent tubes, battery monitoring, registration, initialization, or hard-to-reach battery locations that make professional service the better choice.
This guide does not cover a hybrid or electric vehicle’s high-voltage traction battery. NHTSA says the high-voltage pack is very different from the 12-volt auxiliary battery and should never be serviced without specialized training and equipment. A hybrid or EV can still have a replaceable 12-volt battery, but its model-specific power-down and reconnection procedure controls.
Quick Answer: Should You Replace It Yourself?
| Situation | DIY suitability | Reason |
|---|---|---|
| Accessible conventional 12V battery, exact replacement, clear manual | Reasonable | Basic hand tools and careful procedure may be enough |
| Battery is heavy or in a tight trunk/under-seat location | Use help or a professional | Dropping or tipping it can cause injury and damage |
| AGM/EFB, vented installation, start-stop, or battery sensor | Vehicle-dependent | Exact technology, venting, registration, and reset may be required |
| Hybrid or EV 12V auxiliary battery | Vehicle-dependent | Low-voltage service still needs the exact electrified-vehicle procedure |
| Hybrid/EV high-voltage traction battery | No | High-voltage shock, fire, and thermal hazards require trained specialists |
| Cracked, leaking, hot, frozen, smoking, or swollen battery | No | Damaged-battery handling and transport require professional guidance |
| Repeated discharge or charging-system warning | Diagnose first | A new battery may fail again if the real fault remains |
Test Before You Replace
A no-start does not automatically mean the battery has failed. A discharged but healthy battery, loose or corroded terminals, parasitic draw, starter problem, key or immobilizer fault, fuse, alternator, DC-DC converter, or wiring issue can create similar symptoms.
- Inspect the case, hold-down, terminals, cable ends, and grounds.
- Measure state of charge with the correct meter and procedure.
- Charge a deeply discharged battery before judging its health when safe to do so.
- Use a battery conductance or load test appropriate for the battery type.
- Check charging-system performance after the vehicle starts.
- Investigate key-off draw if the battery repeatedly goes flat.
Testing immediately after a jump start or surface charge can mislead. Save test results, warning messages, and diagnostic codes. If the battery is hot, leaking, cracked, strongly smells of sulfur, or is visibly deformed, stop and contact a battery professional.
Choose the Exact Replacement Battery
Matching physical size is not enough. Use the VIN, owner’s manual, service information, and an accurate fitment catalog. The replacement should match the required battery technology, capacity, cold-cranking performance, dimensions, terminal layout, polarity, base hold-down, and venting.
- Technology: flooded lead-acid, enhanced flooded battery (EFB), absorbent glass mat (AGM), or another specified type
- Fitment: group size, height, width, length, hold-down style, and terminal orientation
- Electrical rating: specified CCA, reserve capacity, amp-hour rating, and manufacturer requirements
- Venting: correct vent ports, plugs, hose, and routing for trunk or cabin-adjacent installations
- Vehicle electronics: battery sensor compatibility, registration, coding, or relearn requirements
Do not downgrade AGM or EFB technology because a cheaper battery fits the tray. Start-stop systems and charging strategies may depend on the specified type. An incorrect terminal layout can stretch cables or create reverse-polarity risk, while omitted venting can allow gas into an enclosed compartment.
Battery Safety Before You Touch a Terminal
Lead-acid batteries contain corrosive sulfuric acid and can release flammable hydrogen gas. OSHA notes that hydrogen can become explosive if it accumulates and that acid can cause severe burns, especially to the eyes. Work in a dry, well-ventilated area away from flames, smoking, sparks, and hot work.
- Wear safety glasses or chemical-splash eye protection and suitable gloves.
- Remove rings, watches, bracelets, and other conductive jewelry.
- Keep metal tools from bridging the positive terminal to body metal.
- Keep children, pets, food, and drinks away from the work area.
- Do not lean over the battery while making the final connection.
- Know the manufacturer’s acid-contact first-aid instructions and have clean water available.
If electrolyte reaches the eyes, begin flushing with clean water immediately and obtain urgent medical help. Do not attempt to neutralize acid in an eye. For spills, damaged cases, or uncertain cleanup, use the battery manufacturer’s safety data and local hazardous-material guidance.
Tools and Supplies
- Exact vehicle procedure and confirmed replacement battery
- Safety glasses, appropriate gloves, and protective clothing
- Correct insulated or well-maintained hand tools
- Terminal puller if specified—never pry against a fragile battery case
- Terminal-cleaning tool and approved corrosion treatment
- Torque wrench or torque driver covering the specified low ranges
- Battery carrier or a second person for a heavy battery
- Scan tool or manufacturer app if registration or initialization is required
- Protective caps or nonconductive covers for disconnected cable ends
A memory saver is not automatically required or safe. It can keep circuits energized while you work, which changes the short-circuit risk and may conflict with the service procedure. Use one only when the manufacturer permits it and you understand which circuits remain live.
General 12-Volt Battery Replacement Workflow
The following is a general sequence. The vehicle manual controls the exact waiting time, power state, terminal order, sensor handling, venting, torque, registration, and initialization.
- Confirm the diagnosis and fitment. Record test results and compare the new battery against every specification.
- Prepare the vehicle. Park on a dry level surface, select Park, apply the parking brake, switch everything off, and keep the key away from the vehicle.
- Follow the power-down wait. Modern modules may stay awake after shutdown; wait as the service information directs.
- Document the installation. Photograph cable routing, sensors, covers, hold-down, vent hose, and terminal orientation.
- Disconnect in the specified order. Many conventional procedures remove negative first, then positive, but the exact manual governs.
- Isolate the cables. Prevent disconnected terminals from springing back or contacting metal.
- Remove hold-down and venting. Keep hardware organized and inspect it for corrosion or damage.
- Lift the old battery safely. Keep it upright and use help or a carrier if it is heavy.
- Inspect and clean. Check the tray, cables, sensor, hold-down, and vent components; repair damage before installation.
- Install the new battery. Confirm polarity, seat it flat, attach venting, and secure the hold-down to specification.
- Reconnect in the specified order. Many procedures connect positive first and negative last; follow the vehicle manual.
- Register and initialize. Perform battery registration, window or steering relearns, clock setup, and other required steps.
- Verify the repair. Start or ready the vehicle, check warnings, test charging support, and confirm the battery cannot move.
Why Terminal Order Matters
On many negative-ground vehicles, disconnecting the negative cable first reduces the chance that a wrench touching body metal while loosening the positive terminal will complete a short circuit. During installation, positive is commonly connected first and negative last.
That rule is common but not permission to skip the manual. Battery sensors, remote terminals, multiple batteries, hybrid layouts, service disconnects, or manufacturer-specific steps can change the procedure. Clearly identify positive and negative markings rather than relying only on cable color.
Do Not Damage the Battery Sensor
Many newer vehicles have a current or battery-monitoring sensor integrated into a terminal or ground cable. Clamping, twisting, striking, bypassing, or connecting accessories on the wrong side of the sensor can damage it or make charging data inaccurate.
Hold the terminal as the service procedure directs, do not use the sensor body as leverage, and route every cable exactly as found. If the sensor or connector is corroded, loose, cracked, or previously bypassed, stop and repair the system correctly.
Battery Registration, Coding, and Relearns
Some vehicles track battery age, state of charge, and charging history. After replacement they may require a battery-monitor reset, registration, or coding of battery type and capacity. Skipping the procedure can produce poor charging strategy, warnings, shortened battery life, or disabled energy-management features.
Power loss can also affect one-touch windows, sunroof position, steering-angle data, idle behavior, radio presets, clock, emissions readiness monitors, smart-key operation, and driver-assistance warnings. Do not clear codes blindly. Save evidence, complete the specified initialization, and diagnose anything that remains.
Hybrid and EV: 12-Volt Is Not the Traction Battery
Hybrid and electric vehicles generally use a low-voltage auxiliary battery for computers, locks, lighting, contactors, and control systems. They also have a separate high-voltage traction battery that propels the vehicle. A no-READY condition can involve the 12-volt battery, but high-voltage diagnosis is a different job.
Never touch orange cables, service plugs, inverters, exposed high-voltage parts, or the traction battery. NHTSA warns that unqualified high-voltage service can cause severe injury or death. If the battery being discussed powers propulsion—or the vehicle has collision, flood, fire, or high-voltage isolation damage—use a qualified EV technician.
Post-Replacement Verification
- Battery is the correct type, rating, orientation, and size.
- Hold-down is installed correctly and the battery does not move.
- Vent hose and unused-port plug are installed as specified.
- Terminals are fully seated, correctly torqued, and protected.
- Cables, sensor, and connectors are not stretched, twisted, or damaged.
- Vehicle starts or reaches READY without abnormal warnings.
- Charging voltage or DC-DC support is within vehicle specifications.
- Battery registration and required relearns are complete.
- The original discharge cause has been resolved.
Do not treat one successful start as complete verification. A loose hold-down, missing vent, undercharged new battery, charging fault, or key-off draw may not show up immediately.
Common DIY Battery Replacement Mistakes
- Replacing the battery before charging and testing it
- Buying by case size while ignoring technology, rating, polarity, and venting
- Reversing polarity or letting a tool bridge positive to body metal
- Leaving the key close enough for modules to wake up
- Using a memory saver without understanding live-circuit risk
- Carrying a heavy battery by weak posts or tipping it
- Forgetting the hold-down, vent hose, sensor, or protective terminal cover
- Overtightening terminal clamps or crushing a tapered post
- Skipping battery registration and relearns
- Ignoring repeated discharge after the new battery is installed
When to Use a Mechanic or Battery Shop
Choose professional replacement when the battery is damaged, leaking, hot, frozen, hard to access, unusually heavy, or installed near high-voltage equipment. Also use a professional if the vehicle requires coding, the terminal or sensor is damaged, venting is unclear, corrosion has reached cables or structure, or the battery repeatedly discharges.
For price and service-scope context, see our car battery replacement cost guide. If you are planning ahead rather than fixing a no-start, our guide to how long a car battery lasts explains why age alone should not decide replacement.
Battery Recycling and Core Returns
Do not place a lead-acid battery in household trash. Keep it upright, protect the terminals from shorting, and return it promptly to a battery retailer, recycler, or approved collection site. Many sellers charge a core deposit that is refunded when the old battery is returned.
Follow local transport and recycling rules, especially for damaged batteries. A traction battery, lithium-ion module, or flooded EV battery requires manufacturer and emergency guidance—not a normal automotive core return.
Frequently Asked Questions
Is changing a car battery easy for a beginner?
It can be on a simple conventional vehicle, but safe terminal handling, correct fitment, battery weight, venting, sensors, and electronic resets can make some vehicles unsuitable for a first DIY job.
Which battery terminal should be disconnected first?
Many negative-ground vehicles specify negative first during removal and negative last during installation. Always follow the exact vehicle procedure because layouts and sensors vary.
Do I need to register a new car battery?
Some vehicles require battery registration, a monitoring-system reset, or coding of type and capacity. Check the service information before disconnecting the old battery.
Can I replace an AGM battery with a regular battery?
Do not downgrade battery technology unless the vehicle manufacturer specifically approves it. Charging strategy, start-stop operation, venting, and service life may depend on AGM or EFB construction.
Can I replace the 12-volt battery in a hybrid?
Sometimes, but only with the exact hybrid-model procedure. The 12-volt auxiliary battery is separate from the high-voltage traction battery, which requires trained specialists.
Why does the new battery keep going dead?
Possible causes include key-off draw, loose connections, charging-system trouble, an incorrect or undercharged battery, accessories, or modules that do not sleep. Diagnose the cause instead of replacing the battery again.
Bottom Line
You can replace a car battery yourself when it is an accessible low-voltage battery, testing confirms replacement, and you can follow every fitment, power-down, terminal, venting, torque, registration, and verification step. Stop for damaged batteries, unclear sensors or electronics, difficult access, repeated discharge, or any high-voltage component. The correct battery and complete procedure matter more than simply making the car start once.